


")
")
")
")
")
")
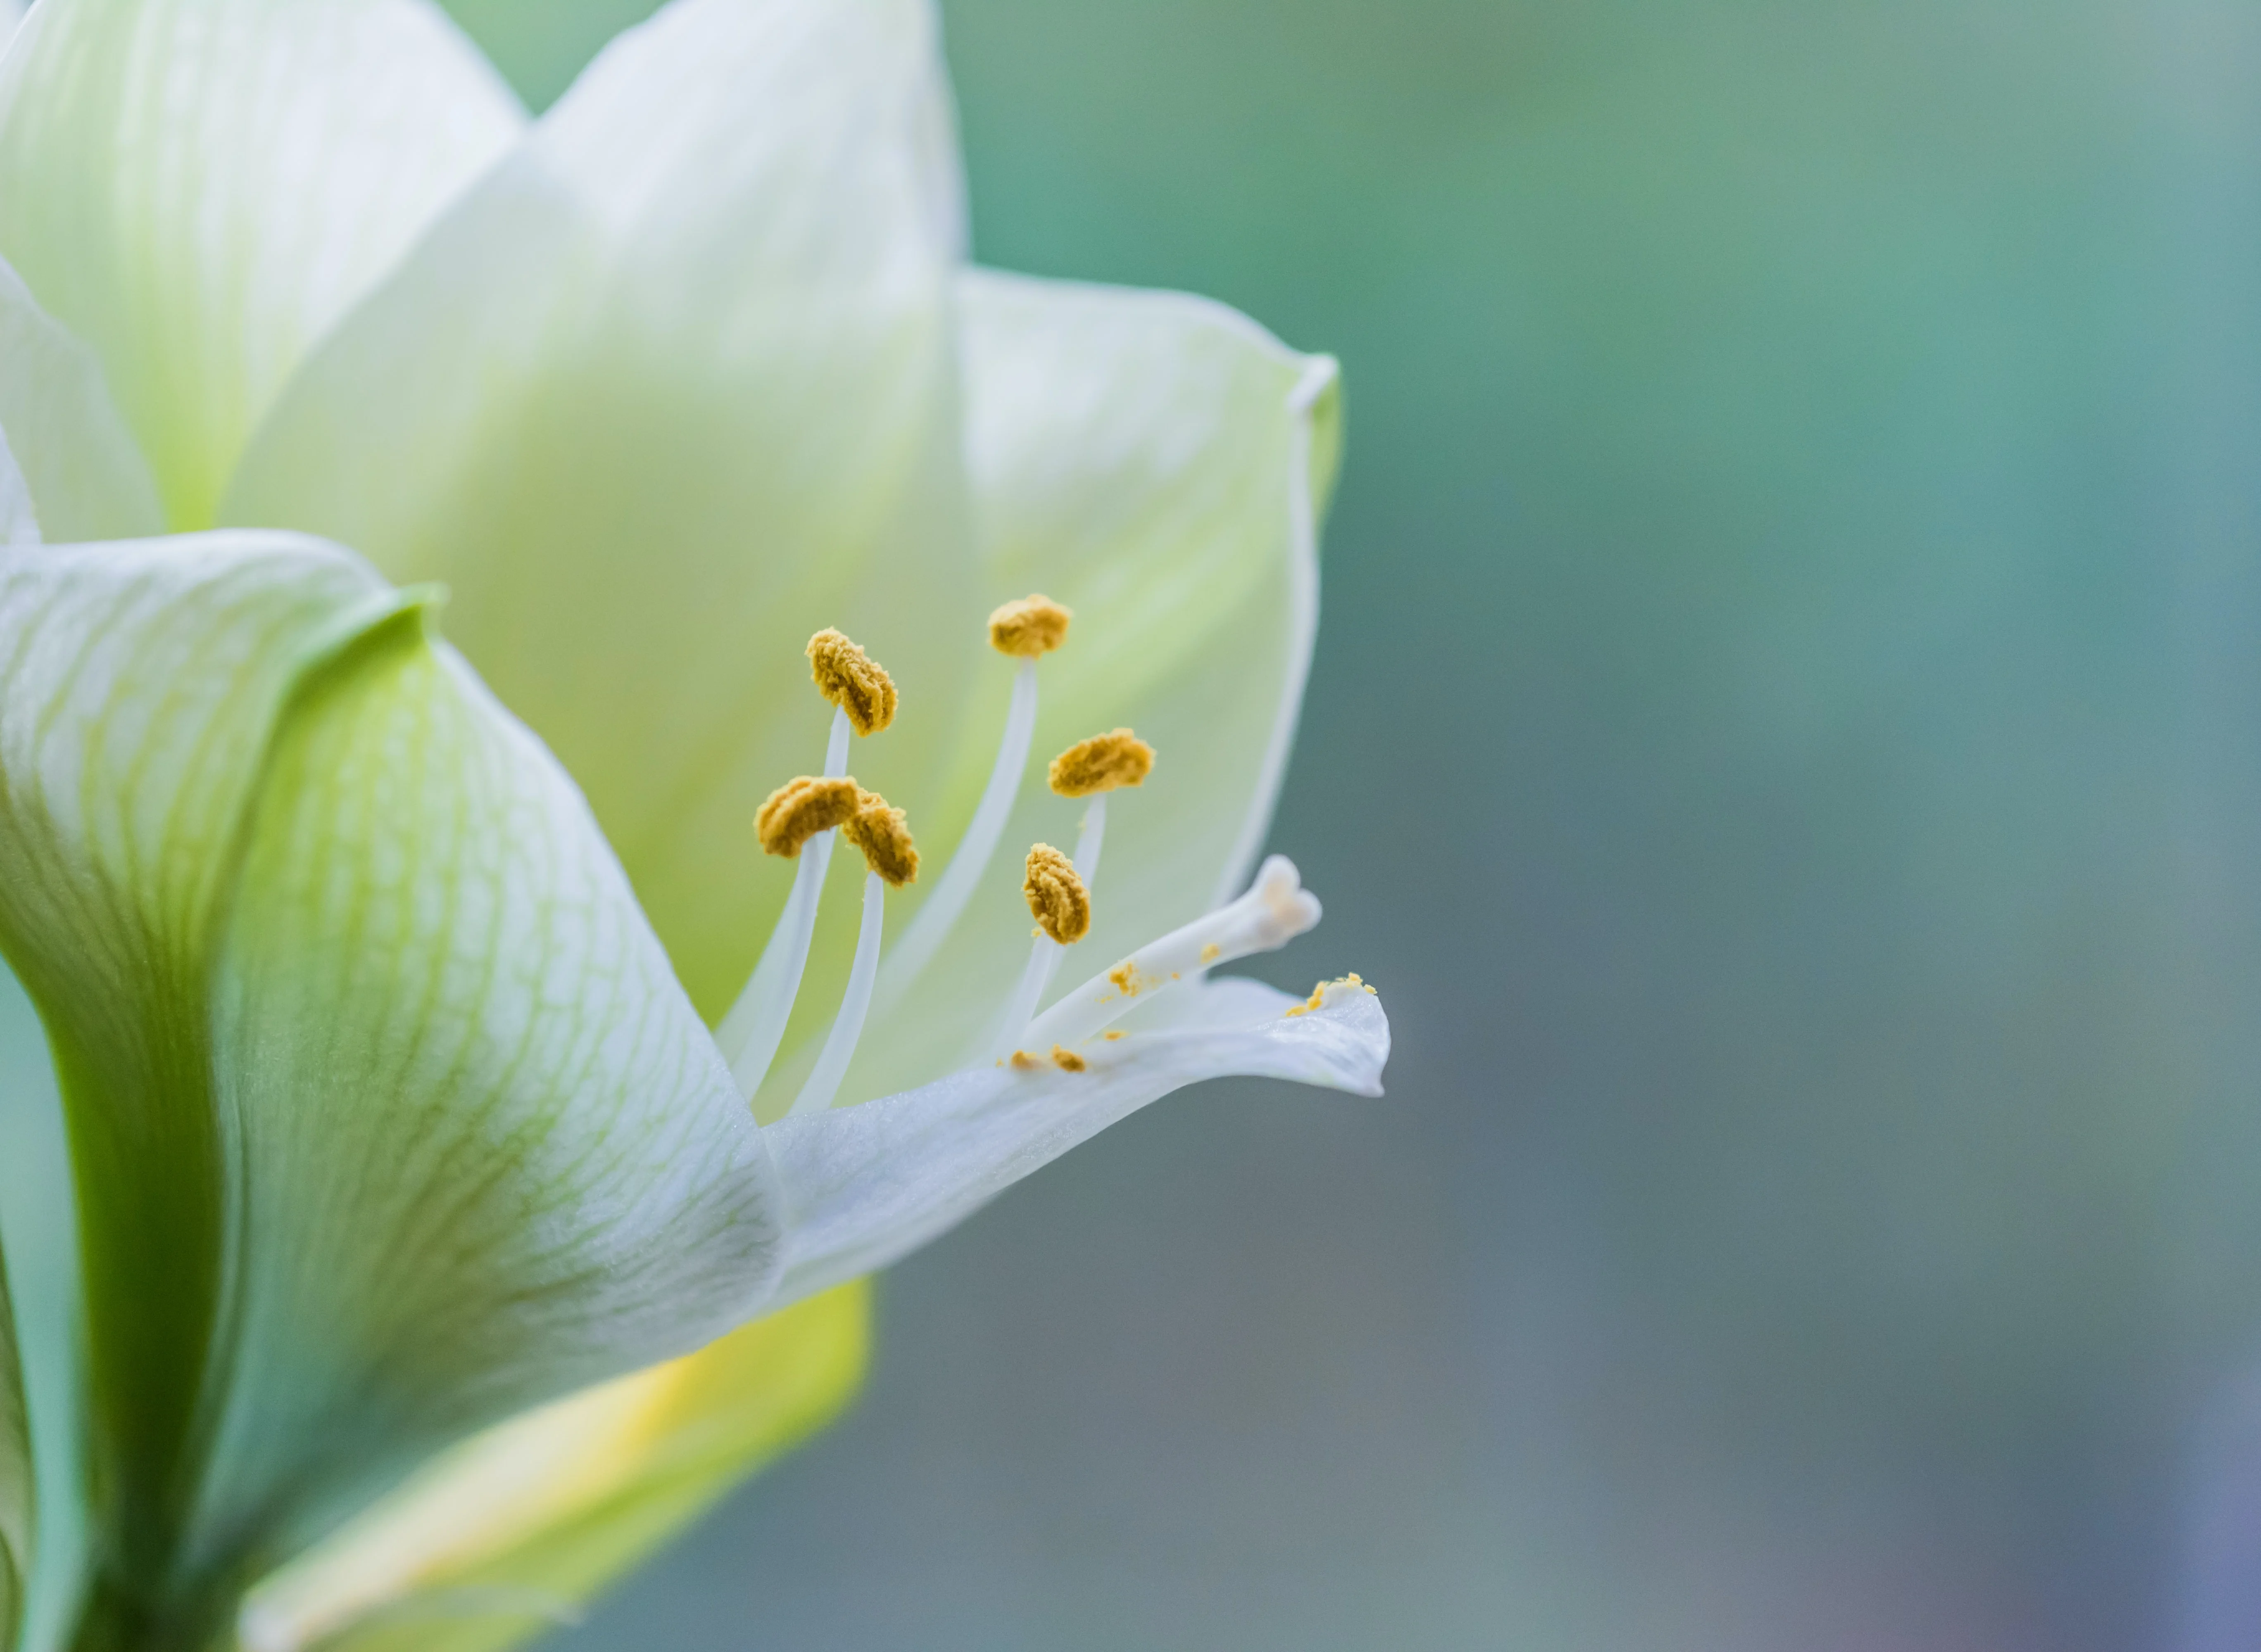
Interview with Ryan Connor the
brilliant creator behind The Growing Answers
What did your set up look like, how long did it take?
The Amaryllis time lapse was set up in my basement where I conduct all my experiments. I used a grow light and the side of a grow tent as a black background.
Throughout the growth, I would adjust the camera angles the process to try to capture everything I could. This particular plant grows rather fast and the camera or the plant always needed adjustment to reframe the shot.
It took several months to complete the project because the first phase was just to grow the leaves. The second phase (Flowering) did not start until about 8 weeks later after the plant was put into dormancy to trigger a flowering cycle.

Do you have any tips for fellow creators who want to film their plants?
The only tips I have for others are to learn manual controls on a camera and lens. You must precisely focus the lens and if you use an aftermarket lens that has an adjustable aperture, you need to close the aperture down enough to get the best focus and resolution.
I sometimes use a piece of paper with text on it to help focus and adjust the aperture for the best image. That is something that must be done at any time you change the camera position. With that said, get an adjustable lens.
My next tip is to know the intervals you want to use. For emerging seedlings, I often set it up to take a photo every 5 minutes. After a few days, I will then change the intervals to take a photo every 10 minutes. As a plant gets larger and the changes become less apparent I will often set the camera to take photos every 20 minutes. This all depends on the growth rate though. A slow-growing house plant such as Pothos Ivy, 1-2 pictures a day is all that needed. And always make use of the internal timer control. There is no sense to have the camera take photos in the dark which can make editing later on more difficult and it just drains the batteries faster.

Ryan’s top filming tips
- Use a piece of paper with text to help focus and adjust the aperture
- Remember to refocus every time you move your camera
- Adjust your interval depending on the type of plant and its growth stage
- Set a schedule or timer to the only record during the daytime
- Follow Ryan on his Growing Answers YouTubeChannel or on Facebook.


